
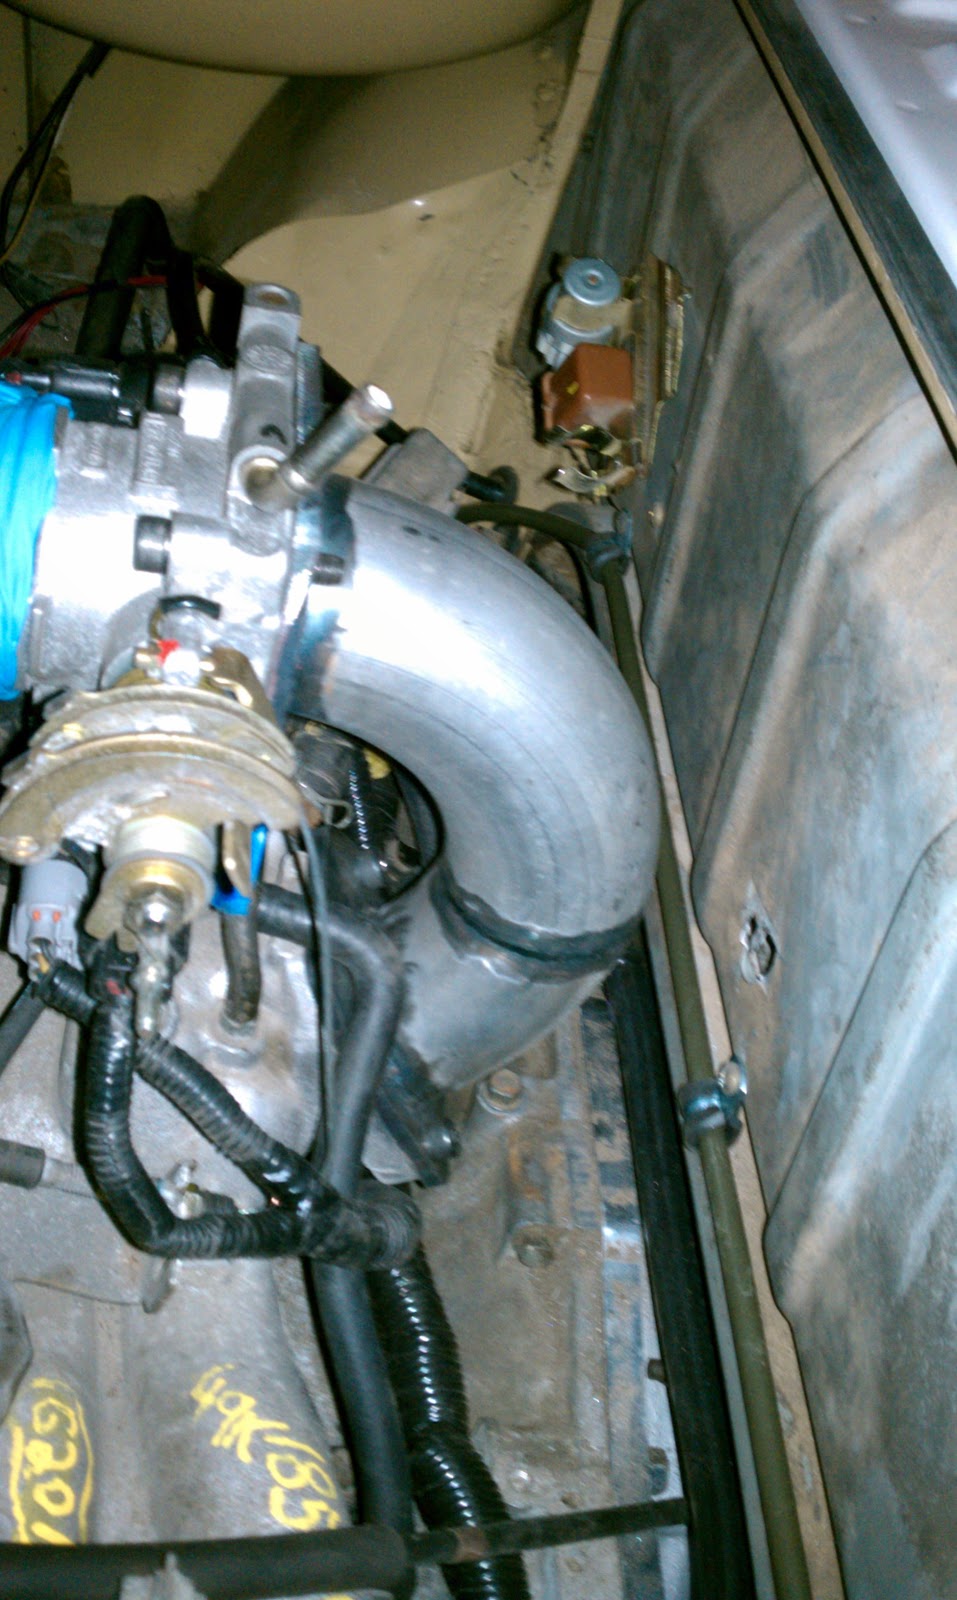
I bolted the rear (front of the bus) of the transmission first and then started working on the two bolts that attach to the upper cross member. You can see the close fit against the fire wall after I reinstalled the reverse throttle body. Without the reverse and in stock location, there would just be no way to squeeze an air intake pipe on the throttle body.
I had a slightly harder time getting the bolt holes to align on the upper cross bar. After poking around, I realized that the heater pipes on the passenger side where interfering and not allowing the engine and transmission to completely lift as high as necessary ( I am not using a reversed coolant manifold; it stayed in stock orientation). I used a cheater bar and gently, very gently, bent the top most heater pipe down just enough to allow the engine/transmission to achieve full height. Once I did that, the bolt holes on the upper engine cross member aligned with no problem!

I had to make one other modification to fit the engine and that was with the original airbox support bar. In stock form, it interfered with the Subaru oil filler cap and also prevented the engine from fully sitting in the bay. I had to bend just enough of the end up to allow the oil filler cap to fit properly. The metal was brittle enough that as I bent it up, it just snapped off, resulting in a shorter section of the original air box support bracket. Oops. Non-returnable modification #1.

Everything else went on pretty smoothly. I reconnected all of the transmission accelerator lines from the pedal assembly to the new Small Car throatytle cable set up. Everything fit perfectly.

Because of the reversed throttle body set up, my accelerator cable in stock form is slightly too far forward and ends up sitting almost exactly below the housing. I think it will work in this arrangement, but I may try to move the cable retaining clip further toward the rear of the bus to give a better arc from the end of the cable housing to the throttle assembly (so the upperward bend isn't so sharp). I think this will be easily achieved be taking the cable retaining clip and simply flipping it 180 degrees...I may loose my spark plug wire holder clip, but oh well.

Next up is getting the rear cross bar modified to fit. I am using the Small Car engine mount system and purchased the two inner and two outer rubber mounts. This set up is intended for a Vanagon install, so either a custom cross bar needs to be created to fit, or a Vanagon cross bar modified to fit. I choose to go the latter route.

I found a Vangaon rear engine cross bar at my local slavage yard for pretty cheap. The first thing that had to be done was to cut out the orginal framerail brackets since they were too tall (didn't allow the bolt holes on the bar to align with the rubber mounts) and too wide (the frame rail distance apart is different on a Bay versus a Vanagon.

Once I had the framerail brackets off, I test fitted again and realized the bar is still a bit too tall to fit, meaning the top of the engine cross bar hits the bottom of the frame rail before the bolt holes fully align. It is off only by a 1/4 inch at most. I marked up the location and width of the frame rail on each side of the engine cross bar and will have to cut the end off and recess the top of the bar a 1/4 of an inch plus the thickness of a steel plat that will be fabricated to mount to the bottom and wrap up the outside of the framerails. I haven't gotten to that point yet but hopefully will shortly after the holidays. I'll try to take some exact measurements and post those for any interested.

Next up is the radiator placement and duct work, the fitment of a rear (Vanagon) heater asembly, and the A/C cooler and system install.
No comments:
Post a Comment